How to Organize a Commercial Kitchen for Peak Efficiency
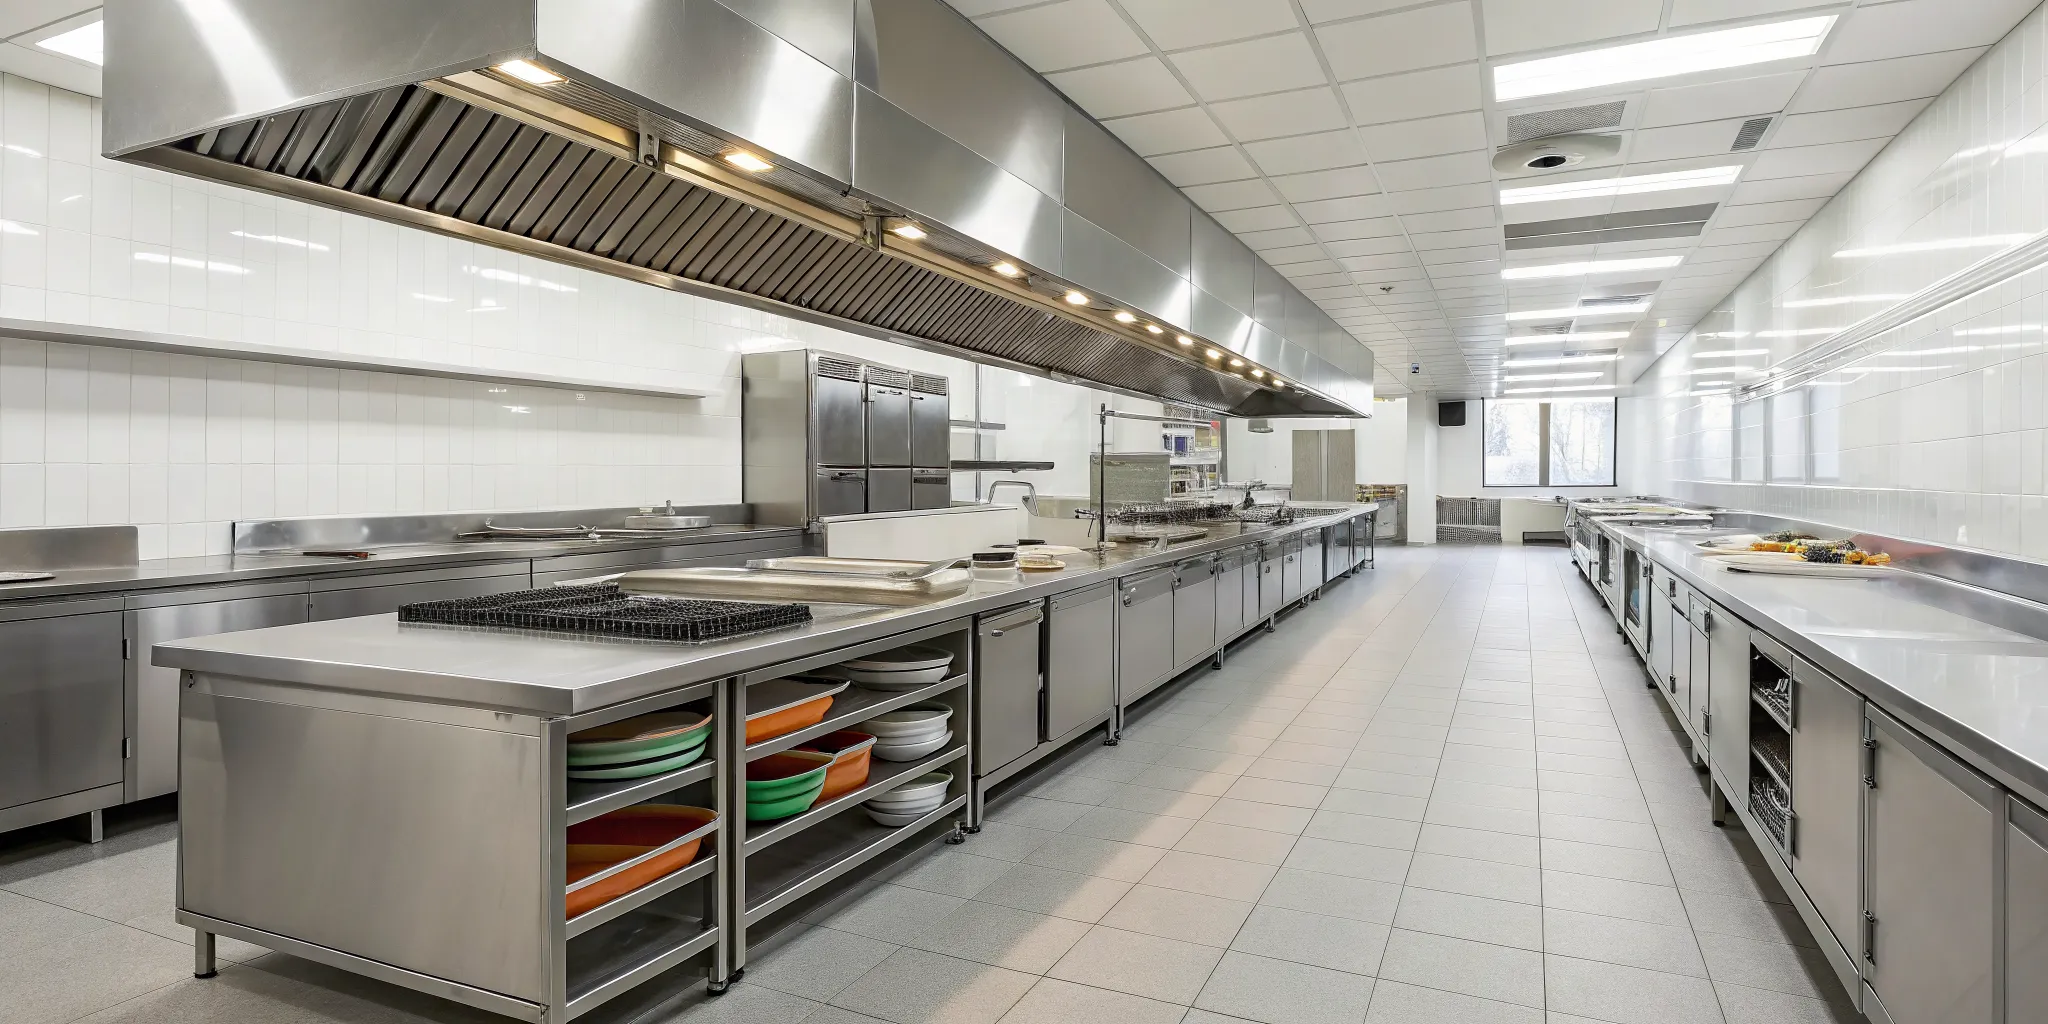
A kitchen’s flow dictates its mood. A clunky layout creates friction, with staff constantly crossing paths and searching for equipment. A smooth one, however, feels like a well-rehearsed dance where everyone moves with purpose. This efficiency isn't an accident; it's the result of a deliberate and organized space. Understanding how to organize a commercial kitchen is the key to creating a safer, less stressful, and more productive environment for your team. By focusing on workflow, smart storage, and clear systems, you can reduce chaos and empower your staff to work together seamlessly, even during the busiest rush.
Key Takeaways
- Build a Kitchen That Follows the Food: Arrange your kitchen into five distinct zones (receiving, prep, cooking, service, and warewashing) to create a one-way path for ingredients. This logical flow prevents traffic jams, minimizes cross-contamination, and helps your team work faster with less stress.
- Create Systems for Stock and Safety: Implement non-negotiable processes like the FIFO method to reduce food waste and consistent date labeling to ensure freshness. A simple color-coding system for tools and dedicated chemical storage are easy ways to prevent cross-contamination and pass health inspections.
- Turn Your Team into System Champions: An organizational plan is useless without team buy-in. Involve your staff in creating the system, provide hands-on training, and use clear visual aids like labels. Assigning ownership for each zone makes accountability a part of your kitchen's culture, ensuring the system sticks.
What Are the 5 Key Zones of a Commercial Kitchen?
A truly efficient commercial kitchen operates like a well-oiled machine, where every station and every movement has a purpose. It’s not just about being tidy; it’s about creating a logical workflow that moves from raw ingredients to a finished dish with as few wasted steps as possible. Thinking about your kitchen in terms of zones is the best way to achieve this. A zoned layout prevents traffic jams, reduces the risk of cross-contamination, and helps your team work faster and with less stress. When you design your kitchen around these five key zones, you’re building a foundation for consistency, safety, and speed. This approach ensures that your staff has everything they need, right where they need it, allowing them to focus on what they do best: creating amazing food. Whether you're designing a new space or rethinking your current one, mastering these zones is the first step toward peak efficiency.
1. Receiving and Dry Storage
This is where it all begins. Your receiving area is the first stop for every ingredient and supply that enters your kitchen. You need a clear, dedicated space, ideally near a back door, to check deliveries for accuracy and quality before accepting them. Immediately next to this area should be your dry storage. Having sturdy shelving units close by means your team can put away deliveries quickly, keeping the receiving zone clear and getting items stored properly without delay. This is your chance to get organized from the start. Use clear, labeled containers to keep everything from flour and sugar to pasta and spices easy to find, which prevents frantic searching during a busy service.
2. Food Prep and Assembly
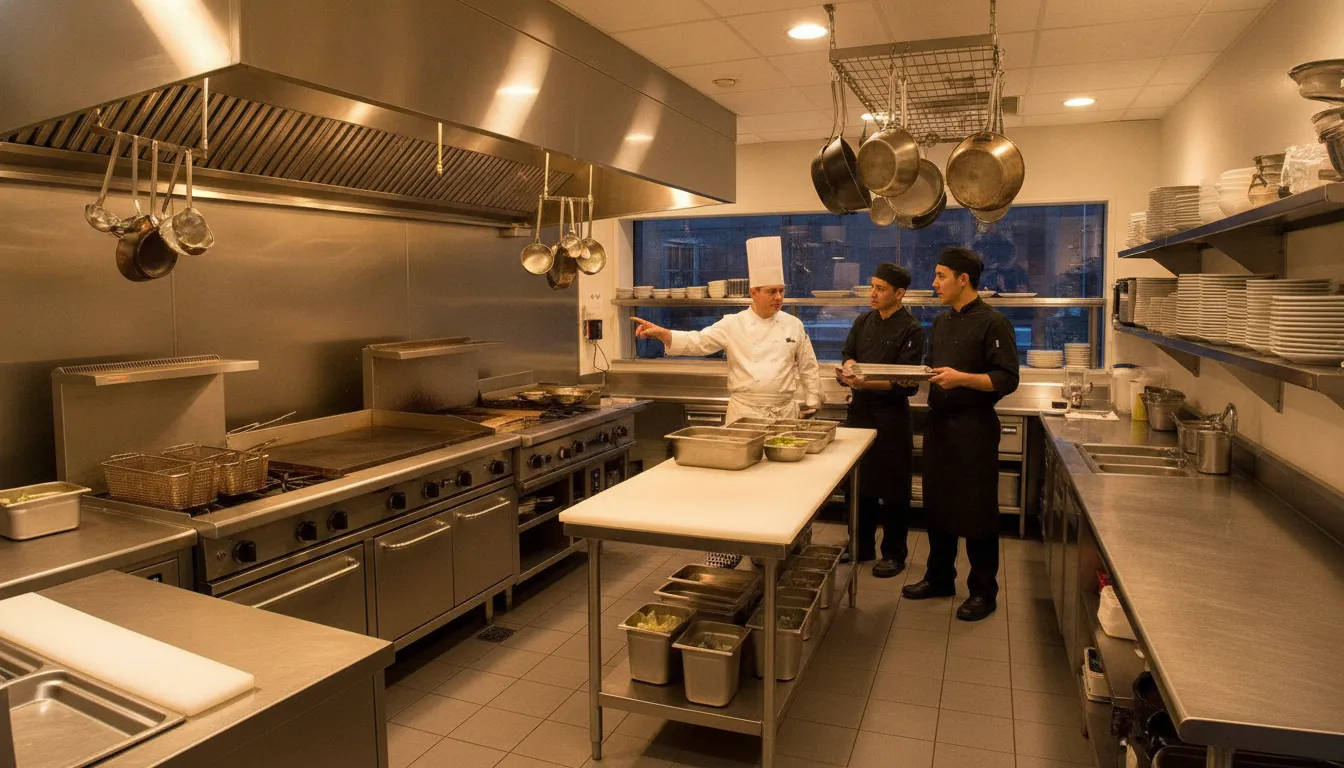
Once ingredients are in, the food prep and assembly zone is where they start their journey to becoming a meal. This area is the bridge between your storage and cooking stations. You’ll want to position your work tables and prep tables between your refrigerators and the cooking line to create a smooth, forward-moving workflow. This zone needs dedicated counter space, access to a prep sink, and organized storage for all your essential tools. Keep frequently used smallwares like cutting boards, knives, and mixing bowls within arm’s reach using wall-mounted magnetic strips or hanging racks. This setup minimizes the need for your staff to walk around the kitchen, saving precious time and energy.
3. Cooking and Production
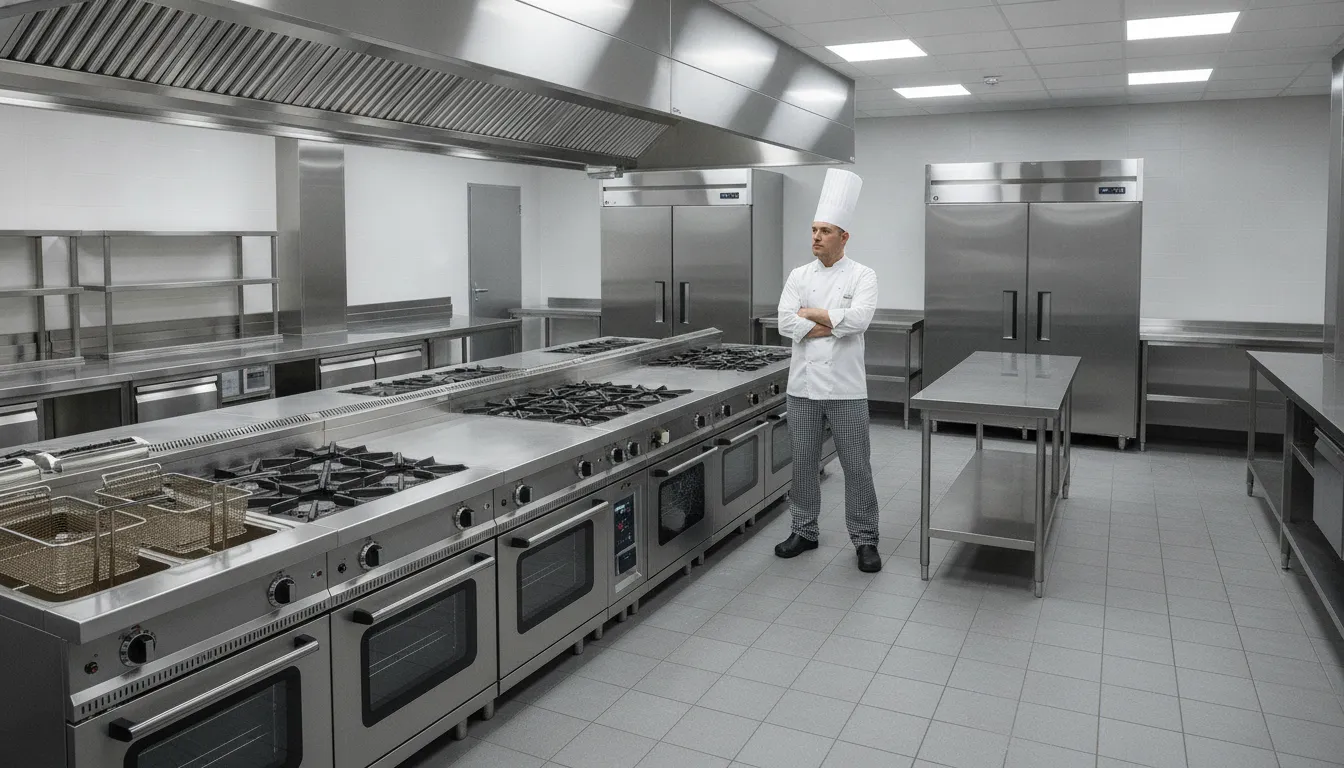
Welcome to the hot line, the energetic heart of your kitchen where the real magic happens. The layout of your cooking and production zone should directly reflect your menu. Arrange your commercial cooking equipment in a logical sequence. For example, if you make a lot of seared proteins that are finished in the oven, place your range next to your ovens. To make your line even more efficient, use refrigerated chef bases under your flat tops or grills. This keeps key ingredients like meat, cheese, and prepped vegetables chilled and right where your cooks need them. Each station should have its own set of tongs, spatulas, and pans to eliminate delays and keep cooks focused on their tasks.
4. Plating and Service
This is the final checkpoint before your food makes its debut. The plating and service area is where dishes are assembled, garnished, and inspected for quality before they head out to your guests. This zone must be kept clean, clear, and well-lit. It serves as the critical hand-off point between the back of house and the front of house. You’ll need a long, clear counter or pass-through window equipped with heat lamps to keep food at the perfect temperature. Make sure there’s ample space for multiple plates and easy access to clean dishes, which can be brought over on utility carts. This organized final step ensures every plate looks perfect and gets to the customer quickly.
5. Warewashing and Sanitation
An effective warewashing zone is the unsung hero of a functional kitchen. Without a steady supply of clean dishes, the entire operation can grind to a halt. Position this area near the dining room entrance so servers can drop off dirty dishes without walking through the entire kitchen. The key here is creating a one-way flow to prevent cross-contamination. Dirty dishes come in, get scraped into a bin, are rinsed, run through a commercial dishwasher or washed in a three-compartment sink, and then placed on drying racks. Once dry, clean dishes should be stored away from the dirty-dish-drop-off to maintain hygiene. This zone also houses your janitorial supplies and disposables, keeping your entire operation clean and safe.
How to Structure Each Zone for Maximum Flow
Once you’ve identified the key zones in your kitchen, the next step is to arrange them in a way that makes sense. The goal is to create a logical path for food to follow, from delivery to the customer's plate, with as few wasted steps as possible. A smart layout not only makes your team more efficient but also creates a safer, less stressful work environment. Think of it as choreographing a dance where every person and every ingredient moves smoothly from one point to the next. This thoughtful arrangement is the key to a high-functioning kitchen that can handle the pressure of any service rush.
Map your space before you move anything
Before you start hauling heavy equipment, grab a pencil and paper or open a design program. A well-organized kitchen saves time, reduces food waste, and keeps your team safer. Start by drawing your kitchen's footprint to scale, noting the locations of doors, windows, and utilities. Then, sketch in your zones and the major equipment for each. This process helps you visualize the workflow and catch potential problems, like a tight corner or a blocked path, before they become expensive realities. If you need help with this critical step, our team offers professional kitchen design services to help you create the perfect layout.
Position equipment based on your menu
Your menu should be the ultimate guide for your kitchen layout. Arrange your cooking stations in the logical order that food is prepared. For example, if a seared scallop dish is a signature item, the station for shucking and prepping should be near the refrigerated storage, which then flows to the sauté station, and finally to the plating area. Placing refrigerated chef bases directly under your cooking equipment keeps essential ingredients within arm's reach, saving precious seconds during service. By analyzing your menu, you can ensure your commercial cooking equipment is placed exactly where it needs to be for maximum efficiency.
Minimize cross-traffic between zones
A busy kitchen can feel like a chaotic intersection, but a good layout can direct the flow of traffic. Create distinct areas for food prep, cooking, and cleaning to prevent your team from constantly bumping into each other. This is especially important for separating the flow of dirty dishes from clean ones. Ideally, you want to create a one-way loop where servers drop off dirty dishes at the dishwashing station and pick up clean ones from a separate area without crossing into the cooking line. This simple separation prevents bottlenecks, reduces the risk of accidents, and helps maintain food safety.
Use color-coding to prevent cross-contamination
One of the easiest and most effective ways to improve kitchen safety is to implement a color-coding system. Using different colored cutting boards, knife handles, and storage containers for different types of food is a clear visual cue that helps prevent cross-contamination. For example, you can assign red for raw meat, green for produce, blue for seafood, and yellow for poultry. This system is simple for your staff to learn and follow, even during the busiest shifts. It’s a small investment in smallwares that pays huge dividends in food safety and helps ensure you’re always ready for a health inspection.
Keep high-traffic zones clear and accessible
Certain areas in your kitchen are natural hubs of activity. The paths around hot cooking equipment like stoves and fryers, the entrances to walk-in coolers, and the service line are all high-traffic zones. It is absolutely essential to keep these areas clear of any clutter or obstructions. A misplaced box or a mop bucket left in the walkway can lead to serious slips, trips, or burns. Make it a strict rule that nothing is ever stored, even for a minute, in these main pathways. This ensures your team can move quickly, confidently, and safely, which is non-negotiable for a smooth and successful service.
Smart Storage Solutions for an Organized Kitchen
An organized kitchen is a profitable kitchen. When everything has a designated place, your team can work faster, reduce food waste, and maintain a safer environment. Smart storage isn't just about being tidy; it's about creating a logical system that supports your workflow from receiving to service. By thinking strategically about how you store ingredients, tools, and equipment, you can save precious time during a busy rush, prevent costly mistakes, and make inventory management a breeze. The right storage solutions are the foundation of an efficient kitchen, allowing your team to focus on what they do best: creating amazing food. From wall-mounted racks to mobile ingredient bins, every choice you make can either add to the chaos or contribute to a calm, productive workspace.
Go vertical with shelving and wall-mounted racks
Your walls are some of the most underused real estate in your kitchen. Instead of letting clutter take over your counters, look up. Installing sturdy wire shelving allows you to use the vertical space between the counter and the ceiling for storing dry goods, supplies, and equipment. Mount smaller racks above prep stations to keep spices, oils, and essential utensils within easy reach. Pan racks are also a game-changer, allowing you to store sheet pans and cutting boards upright, which saves space and makes them easier to grab. By moving storage off your work surfaces, you create more room for prep and plating, leading to a more efficient and less stressful environment.
Organize refrigeration by food type and use
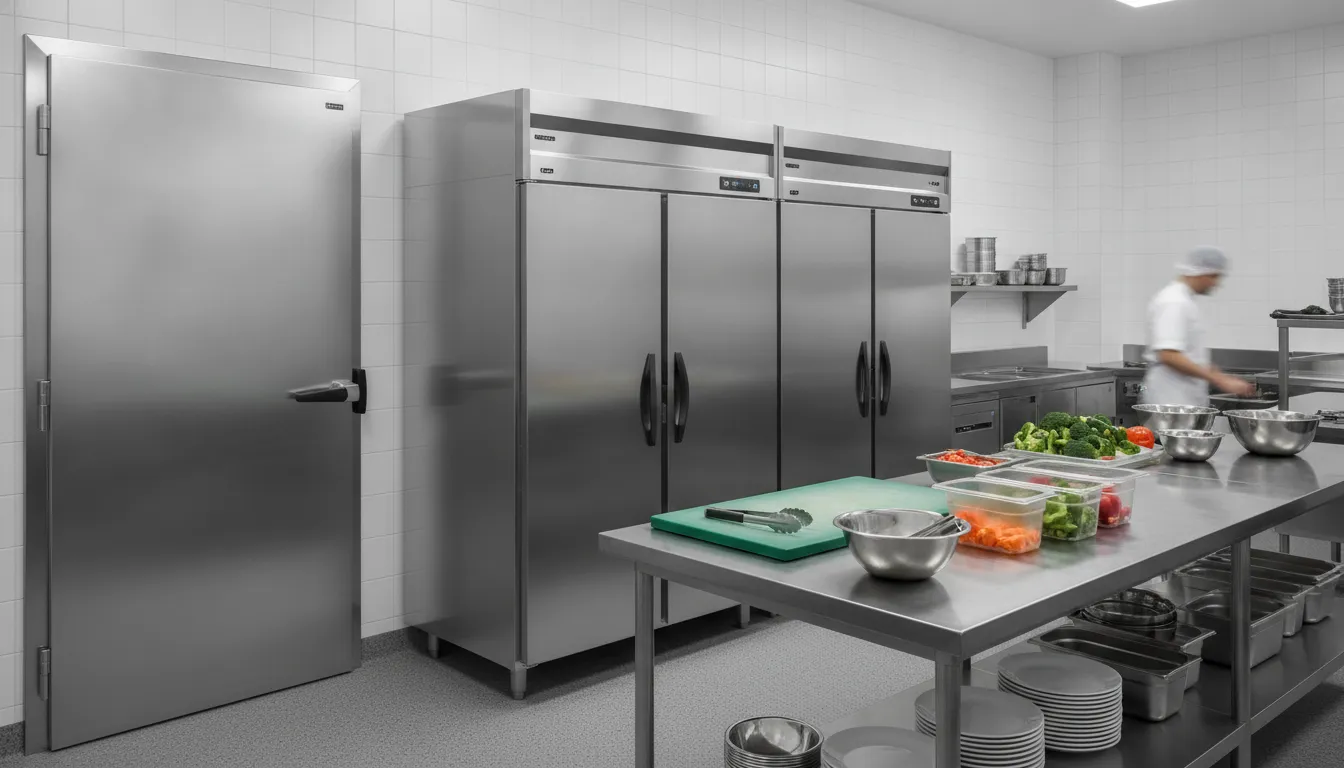
A well-organized walk-in or reach-in cooler is about more than just saving time; it’s critical for food safety and energy efficiency. When your staff can find what they need quickly, the refrigerator door stays closed, which helps maintain a consistent temperature and reduces your electricity bill. Group items by food type and follow the proper storage hierarchy to prevent cross-contamination: ready-to-eat foods on top, followed by cooked meats, and raw meats on the bottom shelves. Using clear, labeled bins within the fridge can further streamline the process, making it easy for anyone to find ingredients without having to rummage through everything.
Master your dry storage
Your dry storage area can quickly become a chaotic mess if it isn't managed properly. The key is to create a system and stick to it. Start by grouping similar items together, so all your grains are in one section and all your canned goods are in another. Use durable, food-safe materials like stainless steel shelves and plastic bins that are easy to clean and can withstand heavy use. Label every shelf clearly so your team knows exactly where to find items and, just as importantly, where to put them back. This simple step eliminates confusion and makes it much faster to take inventory and restock supplies.
Use clear containers and consistent labeling
Guesswork has no place in a professional kitchen. Swapping out opaque packaging for clear, food-safe storage containers allows you to see what you have at a glance, which helps with inventory management and reduces the chance of running out of a key ingredient mid-service. But clear containers are only half the solution. Consistent labeling is just as important. Create a standard format for your labels that includes the item name, the prep date, and a use-by date. This practice is essential for following the FIFO (First-In, First-Out) method and ensures you’re always using the freshest ingredients while minimizing waste.
Add flexibility with mobile storage and ingredient bins
Not everything in your kitchen needs to be bolted down. Incorporating mobile storage gives you the flexibility to adapt your space to different tasks. Wheeled shelving units can be loaded with supplies for a specific service and then rolled out of the way during cleaning. For bulk items like flour, sugar, and rice, dedicated ingredient bins are a must. Look for models with smooth-rolling casters, sliding lids for easy access, and a designated hook for a scoop to prevent it from getting buried. This kind of adaptable storage helps you make the most of your space and adjust your kitchen’s layout as your needs change.
How to Implement the FIFO Method in Your Kitchen
One of the most effective habits for an organized and efficient kitchen is mastering the FIFO method. FIFO stands for "First-In, First-Out," and it’s a simple stock rotation system that makes a huge impact. The concept is straightforward: you use the oldest ingredients before you use the newest ones. This approach is your best defense against food waste, spoilage, and out-of-control food costs. It also ensures you’re always serving the freshest, highest-quality dishes to your customers.
Implementing FIFO is a team effort that applies to every single item in your inventory, from fresh produce in the walk-in to canned tomatoes in dry storage. When new stock arrives, you simply move the older items to the front and place the new delivery behind them. This way, your staff naturally grabs the items that need to be used first. It’s a foundational practice for any food business that wants to maintain quality, safety, and profitability. By making it a non-negotiable part of your daily operations, you create a reliable system that supports your entire kitchen workflow.
Set up FIFO in your refrigerators and freezers
Your refrigerators and freezers are ground zero for spoilage, which makes them the perfect place to start with FIFO. Because these areas hold your most perishable and expensive items, consistent stock rotation is critical. The process is simple: when a new shipment of produce, dairy, or meat arrives, take a moment to pull the existing items forward. Then, place the new products in the back. This ensures that the food with the soonest expiration date is always front and center, ready to be used.
To make this system foolproof, get your team in the habit of labeling everything. Use a clear, consistent format that includes the product name and the "use-by" or delivery date. This simple step removes any guesswork and helps everyone see at a glance what needs to be used next. Using clear food storage containers also helps with visibility, allowing your team to quickly identify products without having to open every box.
Apply FIFO to dry goods and pantry items
FIFO isn't just for the cold stuff. Your dry storage area benefits just as much from a first-in, first-out approach. Items like flour, sugar, spices, pasta, and canned goods might have a longer shelf life, but their quality can still decline over time. Applying FIFO here ensures that older stock is used before it loses its flavor, texture, or potency. It also prevents you from discovering a case of expired tomato sauce hidden in the back of a shelf.
Organize your pantry with the same logic you use for your refrigerators. When restocking, move older items to the front and place new inventory behind them. For shelving units, you can work from top to bottom or left to right. The key is consistency. Make sure your shelving and racks are organized logically, so your team can easily find what they need and follow the FIFO flow without having to think twice.
Maintain your system with date labeling and audits
A system is only effective if people follow it, so maintaining your FIFO process is just as important as setting it up. Consistent date labeling is the backbone of this system. Every item that enters your kitchen, from a bag of onions to a box of frozen shrimp, should be marked with a clear date. This simple action empowers your team to make the right choices when pulling ingredients for prep or service.
To ensure everyone stays on track, schedule regular, quick audits of your storage areas. This doesn't have to be a formal inspection; it can be a quick spot-check during a slow period. These checks help you catch mistakes, reinforce training, and show your team that you're serious about the process. Adhering to FIFO is also a key part of complying with food safety regulations, which protects both your customers and your business from potential issues.
What Safety and Sanitation Standards Must Your Kitchen Meet?
An organized kitchen is a safe kitchen. Meeting safety and sanitation standards goes far beyond just passing your next health inspection; it’s about creating a professional environment that protects your team, your customers, and your reputation. When your space is set up with safety as the priority, you reduce the risk of accidents, prevent food-borne illnesses, and create a less stressful, more efficient workplace. Think of it as a non-negotiable foundation. A well-run kitchen has safety built into its workflow, not added as an afterthought. From keeping walkways clear to storing chemicals properly, every detail contributes to a culture of care and accountability. By focusing on a few key areas, you can ensure your kitchen not only meets but exceeds the required standards, making it a place where your team can work confidently and produce their best work.
Keep pathways clear of hazards
Your kitchen’s walkways and emergency exits are not storage areas. It sounds simple, but it’s one of the most common safety issues in a busy kitchen. Keeping these high-traffic pathways completely clear of crates, prep buckets, and miscellaneous equipment is critical. A cluttered floor is a direct cause of slips, trips, and falls, which are among the most frequent kitchen injuries. In an emergency, a blocked exit can have devastating consequences. Make it a strict rule: if something is delivered, it gets put away immediately. If a piece of equipment isn't being used, it goes back to its designated storage spot. This simple discipline keeps your team safe and ensures your kitchen is always ready for action.
Separate chemicals from food storage areas
This is a big one. Never, ever store chemicals near food, food prep surfaces, or clean dishes. The risk of a dangerous mix-up is just too high. To prevent this, you need a dedicated storage area for all your cleaning supplies, sanitizers, and pesticides, located well away from any food storage. Ensure every spray bottle and container is clearly labeled with its contents. It’s a simple step that prevents hazardous mix-ups and is a non-negotiable for health inspectors. Unlabeled chemical bottles are a major red flag, so make sure your team understands the importance of labeling everything and returning chemicals to their proper home after use.
Know your health code essentials
No one likes surprises during a health inspection. The best way to pass with flying colors is to know what inspectors are looking for and to be your own toughest critic every single day. Common health code problems often stem from a lack of organization. Things like food stored on the floor, missing date labels on prepped items, unlabeled chemicals near food, and blocked exits are frequent violations that are easy to avoid with a good system. By understanding these common health code problems, you can train your team to spot and fix them before they become an issue. Regularly review your local health department’s guidelines and make them part of your daily routine.
Create cleaning schedules with station accountability
A clean kitchen doesn't happen by magic; it happens by design. Instead of a frantic deep clean right before an inspection, build cleaning into your daily and weekly workflow. The key is to set up regular times to tidy up, check inventory, and restock so that clutter never gets a chance to build up. Create detailed cleaning checklists for each station and assign ownership to specific team members. When everyone knows what they’re responsible for, from wiping down their station at the end of a shift to deep cleaning the fryers on Tuesday, accountability becomes part of the culture. This ensures a consistently clean and sanitary environment for everyone.
How to Optimize Your Kitchen's Workflow
A well-organized kitchen is a great start, but the real magic happens when you optimize your workflow. Think of it as choreographing a dance where every step has a purpose. A streamlined workflow means your team moves efficiently, ingredients travel logically, and orders fly out of the window. This isn't just about speed; it's about creating a calmer, safer, and more productive environment for everyone. By minimizing wasted motion and creating clear paths for every task, you reduce stress on your staff and ensure a consistent, high-quality output, even during the busiest rush. Let’s look at a few practical ways to make every movement in your kitchen count.
Keep prep tools and smallwares within arm’s reach
During a busy service, walking across the kitchen for a spatula or a whisk is a waste of precious time. Keep your most-used smallwares within arm's reach of their corresponding stations. Think magnetic knife strips above the cutting board, wall-mounted holders for spoons and turners near the range, and rolling racks for frequently used pots and pans. This "mise en place" approach extends beyond just ingredients. By setting up each station with all the necessary tools, you eliminate unnecessary steps and allow your cooks to focus on what they do best: cooking. It’s a simple change that makes a huge difference in speed and efficiency.
Reduce unnecessary steps during service
Your kitchen layout should guide a logical, one-way path for ingredients. To reduce unnecessary steps, place work tables and prep tables between your cold storage and your cooking stations. This way, ingredients travel in one direction from storage to prep to the line without any backtracking. A linear workflow prevents your team from bumping into each other and creating traffic jams. It also makes the entire cooking process more intuitive and less chaotic. If your current layout causes constant bottlenecks, it might be time to rethink your setup or consider a professional kitchen design consultation to map out a more efficient flow.
Create separate paths for dirty and clean dishes
The dish pit can either be a well-oiled machine or the source of total chaos. To keep things running smoothly and safely, create separate paths for dirty and clean dishes. Dirty dishes should arrive at a designated drop-off area, where they are scraped and rinsed before entering the dishwasher. Once clean, they should exit to a separate drying and storage area away from the dirty zone. This system prevents cross-contamination and ensures your team isn't scrambling for clean plates during a rush. It keeps germs from spreading and creates a clear, efficient cycle that supports the entire kitchen operation.
Schedule regular tidying sessions to maintain order
An organized kitchen can quickly fall back into clutter without consistent effort. The key is to make tidying a routine, not a reaction. Set up regular times each day or week to tidy up, check inventory, and restock. This could be a 15-minute reset at the end of each shift or a deeper clean during a slow period. Regular maintenance stops clutter from building up and helps you stay on top of your inventory. It also makes it easier to see what you need to reorder, helping you take full advantage of programs like our free local delivery service when you restock.
Find the Right Equipment to Stay Organized
An organized kitchen runs on smart systems, but those systems are only as good as the equipment you use to support them. Having the right tools and storage isn't just about tidiness; it’s about creating a functional, efficient, and safe environment for your team. Investing in the right pieces, from large shelving units to the smallest containers, lays the groundwork for a workflow that saves you time, money, and stress. When your equipment is designed to support organization, everything else falls into place more easily.
Essential shelving, racks, and storage containers
Make the most of your kitchen’s footprint by thinking vertically. Wall-mounted shelves are perfect for maximizing the space above counters and work tables, keeping dry goods and small tools within easy reach. For your main storage areas, choose heavy-duty wire shelving for its durability and air circulation. In walk-in coolers or dishwashing stations, polymer shelving is a better choice because it resists moisture and is simple to clean. For bulk dry goods like flour and sugar, wheeled ingredient bins are a game-changer, making it easy to move large quantities around the kitchen while keeping contents fresh and protected.
Choose smallwares that support an organized prep station
A cluttered prep station slows everyone down. The key is to keep essential tools accessible but out of the way. You can use a pegboard to hang frequently used utensils or place them in an upright container on the counter. When it comes to ingredients, ditch the mismatched original packaging. Transfer spices, grains, and other dry goods into clear, uniform containers. This not only looks neater but also allows you to see inventory levels at a glance. Just be sure to label everything clearly so there’s no guesswork during a busy service. Having the right smallwares makes it much easier to maintain an orderly workspace.
When to consider a professional kitchen design consultation
If you’re setting up a new kitchen or find that your current layout is constantly causing bottlenecks, it might be time to call in an expert. A professional kitchen designer can help you create a layout that optimizes your specific workflow, menu, and space. This isn't just about making the kitchen look good; it's about improving safety, reducing food waste, and helping your team work more efficiently. A well-designed kitchen is a calmer, more productive environment for everyone. If you feel like you've hit a wall with your organization, a kitchen design consultation can provide a fresh perspective and a strategic plan for success.
Frequently Asked Questions
My kitchen is tiny. How can I create distinct zones in such a small space? In a small kitchen, it's all about making your space work double duty. You might not have room for five physically separate zones, so think in terms of workflow instead. Your main prep table, for example, can be your prep zone in the morning and then transform into your plating and service zone during the dinner rush. The key is to use vertical space with wall-mounted shelving to keep counters clear and to invest in mobile carts and racks that can be moved as your needs change throughout the day.
What's the first step I should take if my kitchen is a complete mess right now? When you're feeling overwhelmed by the chaos, don't try to fix everything at once. Pick one area that causes the most frustration, like your main prep station or the walk-in cooler, and start there. Pull everything out, give the area a deep clean, and then put items back in a logical way. Getting one small section under control provides a huge mental lift and gives you the momentum to tackle the next area. A single, focused win is more effective than trying to do a little bit of everything.
How do I get my team to stick with the new organizational system long-term? The secret is to make them part of the process from the very beginning. When your team helps create the system, they feel a sense of ownership and are much more likely to maintain it. After you've trained everyone, consistency is everything. Make the system easy to follow with clear labels and visual guides. Most importantly, lead by example. If you always put things back where they belong, your team will see that the new standard is not optional.
Is it really necessary to transfer everything into new containers, or can I just use the original packaging? While it feels like extra work upfront, transferring items like grains, spices, and sugar into clear, uniform containers is a total game-changer. It allows you to see exactly what you have with a quick glance, which makes inventory easier and prevents you from running out of an ingredient mid-service. It also protects your food from pests and moisture far better than flimsy bags or boxes. Think of it as an investment that pays you back every day in saved time and reduced food waste.
What's the biggest safety mistake you see in disorganized kitchens? The most common and dangerous mistake is cluttered walkways. When boxes, buckets, or equipment are left on the floor, they become serious hazards for trips, slips, and falls. In a fast-paced environment with hot liquids and sharp knives, a simple fall can lead to a severe injury. A core principle of an organized kitchen is that nothing ever gets stored on the floor, and pathways are always kept completely clear. It’s a non-negotiable rule for a safe operation.