Step-by-Step Ghost Kitchen Planning: 5 Phases to a Delivery-Only Setup in Rochester
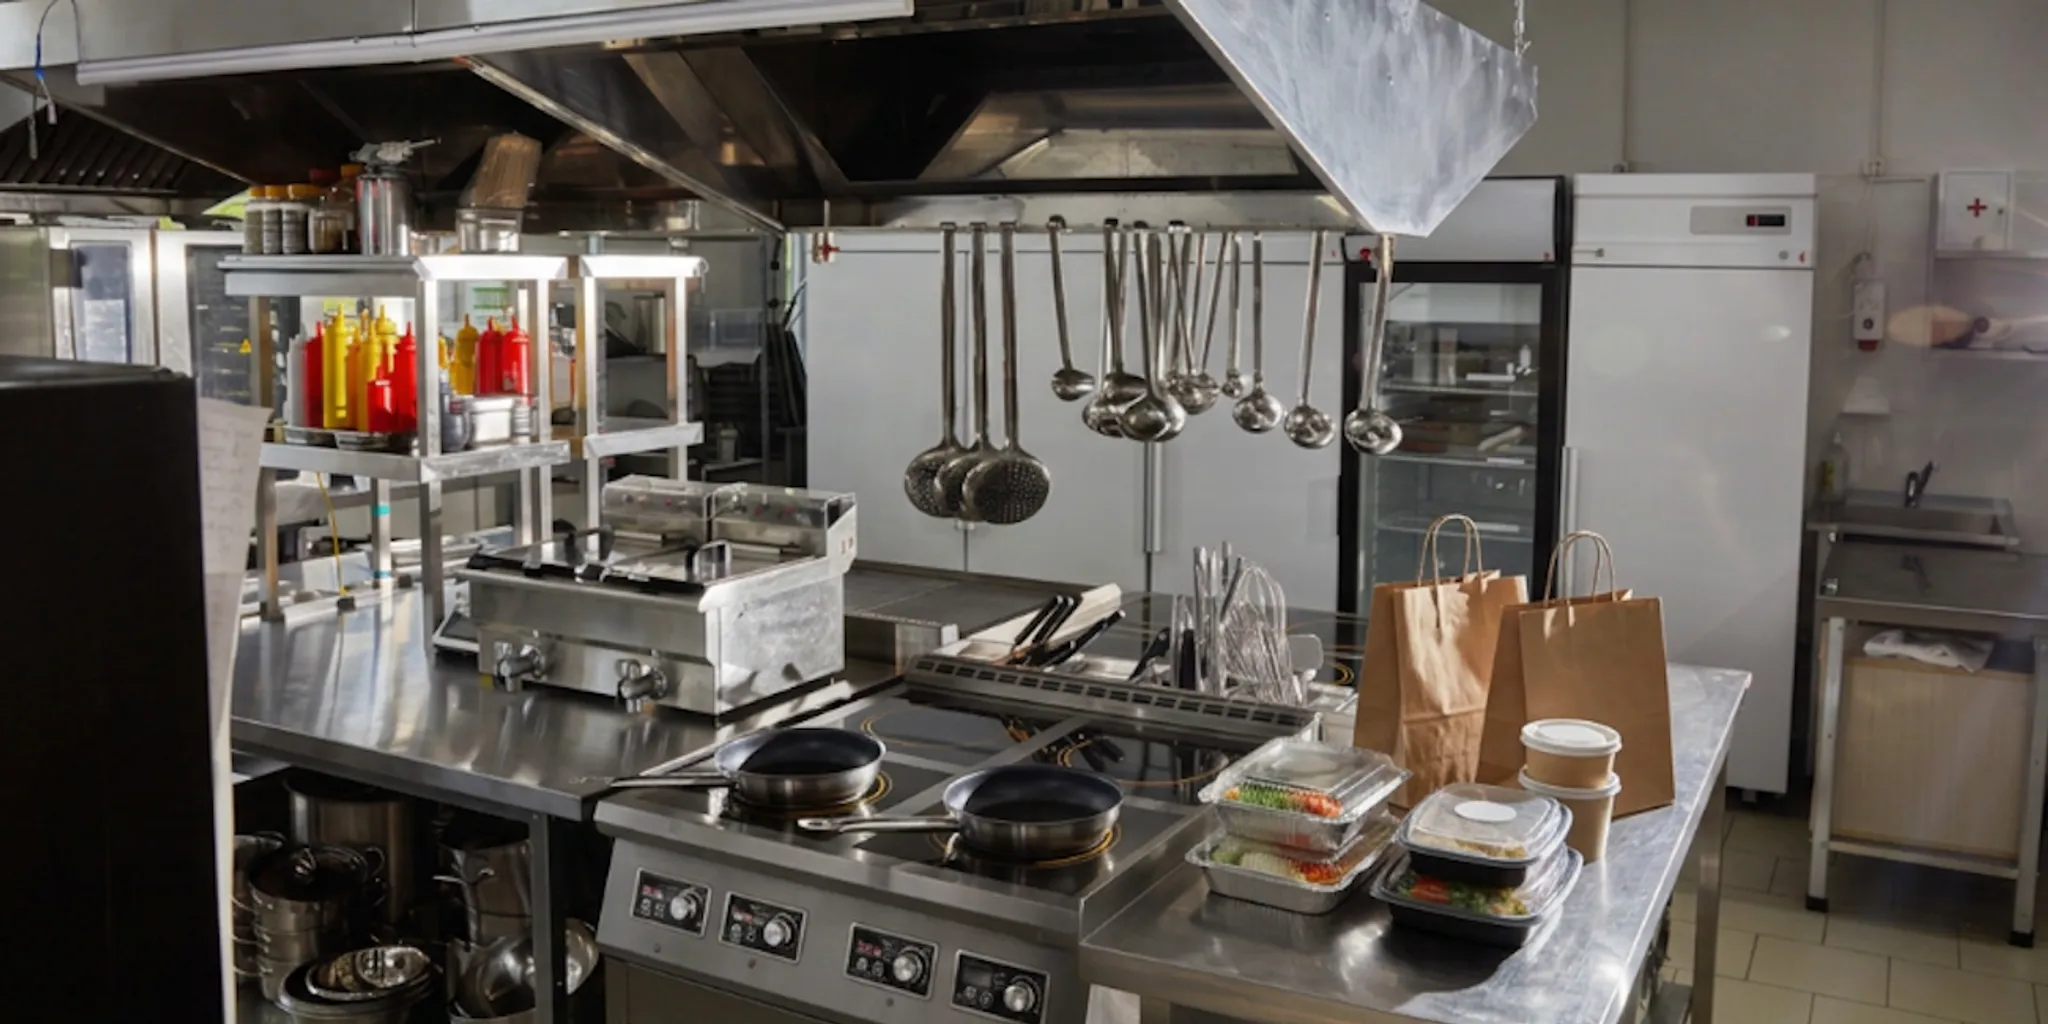
A ghost kitchen is a delivery-only restaurant or foodservice operation with no customer-facing dining room. It has less room for unused capacity, awkward movement, or equipment chosen before the menu is settled. In Rochester, NY, a strong setup starts with the food you will produce, the orders you expect during peak service, the utilities available at the site, and the path from receiving to prep, cooking, sanitation, and dispatch.
This ghost kitchen equipment guide gives Rochester operators a phase-based plan for matching commercial cooking, refrigeration, preparation, warewashing, storage, safety, and delivery supplies to a delivery-only menu and workspace.
Use each phase to make the next decision before ordering equipment. Keep the delivery-only model at the center of the plan, then adjust the setup as real order volume and menu complexity develop.
Talk with HRS about your commercial equipment plan
Phase 1: Define the Menu and Forecast Peak Order Volume
Begin with the work the kitchen must perform, not with a generic list of restaurant equipment. A delivery-only concept can make a limited footprint productive when its menu, production sequence, and capacity assumptions are clear. It can also become crowded quickly when the operator buys units first and tries to fit the workflow around them.
Step 1: Map Menu Functions to Commercial Units
Itemize every preparation and cooking method required across the opening menu. Then pair each function with a specific commercial unit or work area. A high-volume pizza concept may need a dedicated deck oven and organized dough preparation. A Mediterranean menu may depend more heavily on commercial food processors, prep tables, spice-grinding capacity, and high-capacity refrigeration. A menu built around cold assembly may need less cooking capacity but more refrigerated prep and staging space.
- List the menu functions. Write down receiving, storage, washing, cutting, mixing, portioning, cooking, holding, packing, and dispatch tasks.
- Identify simultaneous work. Note which ingredients, batches, or orders must be handled at the same time during a busy service.
- Pair each task with a unit. Specify the commercial oven, range, fryer, food-preparation unit, worktable, refrigeration position, sink, shelving, or staging surface that performs the task.
- Separate launch essentials from upgrades. Put units required to produce the opening menu safely in the first phase. Defer specialty or redundant units until demand justifies their footprint.
That menu-first process keeps the package specific to the concept. It also helps an operator discuss practical commercial cooking equipment choices with an equipment specialist before a purchase is tied to the wrong production assumption.
Step 2: Calculate Equipment Capacity Based on Peak Order Volume
Equipment that easily handles a slow afternoon shift can become a major bottleneck during peak order windows. Rather than sizing stations in isolation, establish capacity around the highest-demand production period your delivery-only operation expects.
- Forecast the busiest window. Estimate orders during the busiest expected service period, then translate them into portions, pans, batches, and prep tasks.
- Size for batch processing and recovery. Determine whether recipes require continuous single-order assembly, repeated batches, or both. Check how much product a unit handles per cycle and how quickly it recovers before the next batch.
- Include the surrounding stations. Cooking capacity does not solve a bottleneck if ingredients, pans, prepared components, or finished orders have nowhere to go. Include prep surfaces, refrigeration, storage, holding, and staging in the calculation.
- Use a practical buffer. Leave enough capacity for simultaneous cooking, holding, and preparation. Do not assume that average demand represents the service period that will determine customer wait times.
- Record the assumption. Write down the order volume, batch size, cycle time, and recovery assumption used for each major unit. Revisit the assumptions after the operation has real order data.
This capacity plan is more useful than choosing a unit by size alone. It gives the designer, equipment specialist, and operator a shared basis for deciding what belongs in the opening package and what can wait until the concept proves its demand.
Step 3: Separate Delivery-Only Priorities From Full-Service Priorities
A traditional restaurant must account for dining-room seating, guest circulation, front-of-house service stations, and the movement of orders to tables. A delivery-only restaurant concentrates its footprint on receiving, storage, preparation, cooking, safe holding, packing, and dispatch. That does not make it simply a smaller restaurant. It makes the production path more important.
For a Rochester operator evaluating a shared commercial kitchen or food-business space, Rochester Commissary is one local resource to review alongside equipment and workflow requirements. Compare any potential space with the actual menu, utilities, storage needs, cleaning routine, and handoff process rather than assuming that a compact room is ready for every concept.
Phase 2: Audit the Layout, Footprint, and Utilities Before Ordering
After the menu and peak volume are clear, test the plan against the room. Small commercial kitchens work best when every piece earns its place and staff can move from cold storage to prep, cooking, holding, packing, and dispatch without unnecessary crossings. The goal is not to squeeze the most units into the space. The goal is to create enough capacity for the busiest period while preserving safe, serviceable movement.
Step 4: Draw the Workflow to Scale
Draft the proposed floor plan to scale before selecting final models. Include doors, walls, aisles, clearances, utility hookups, storage, warewashing, waste handling, and the dispatch handoff point. Mark the route for ingredients and the separate route for completed orders.
- Receiving and storage: identify where ingredients arrive, where they are checked, and where dry, refrigerated, or frozen inventory is held.
- Preparation: place worktables, food-preparation units, cutting and portioning tools, and ingredient access where staff can work without blocking the line.
- Cooking and holding: arrange ovens, ranges, fryers, or other menu-specific units in production order, with room for safe loading, unloading, and holding.
- Packing and dispatch: reserve a defined surface for order assembly, labels, bags, containers, and driver or courier handoff.
- Warewashing and sanitation: keep dirty items moving toward washing without sending them through active prep or ready-to-eat assembly.
A one-way sequence reduces backtracking: receive and store ingredients, move them to prep, send prepared items to cooking or assembly, then route completed orders to staging. A commercial kitchen layout plan can help connect equipment placement, utility requirements, and staff movement before the footprint becomes expensive to change.
Step 5: Audit Electrical, Gas, Water, Drainage, and Ventilation
Record the site's existing and planned utilities before selecting models. Review electrical service, gas lines, water hookups, drainage, ventilation, heat and moisture control, and fire-suppression requirements with qualified local professionals and the appropriate building, fire, electrical, plumbing, and health authorities.
- Confirm that the electrical service can support the planned load and the equipment used simultaneously.
- Verify gas capacity, connection locations, shutoffs, and any required clearances.
- Map water supply, hot water, drainage, floor drains, and the needs of cooking, sanitation, and warewashing.
- Review hood and ventilation needs for equipment that produces smoke, grease, heat, or moisture.
- Confirm the proposed fire-suppression approach for the selected cooking line before installation.
- Leave service access so technicians can inspect and maintain equipment without dismantling the workflow.
Do not treat a product specification as proof that a building is ready for the unit. A compact room does not eliminate code, permit, ventilation, or fire-protection requirements. Confirm the site conditions before committing to equipment or a final layout.
Step 6: Check Clearances, Door Swings, and Service Access
Measure the usable footprint, not just the room's outside dimensions. Check refrigerator and oven door swings, aisle widths, equipment depth, loading paths, cleaning access, and the route for replacement or repair. A unit that fits on paper may still obstruct a main staff route or prevent access to a shutoff, drain, or service panel.
Place refrigeration close enough to prep to reduce unnecessary steps, but do not let open doors obstruct the cooking line. Reach-in units may support frequent access near production, while other commercial refrigeration configurations may suit larger ingredient volumes or a dedicated storage zone. Compare commercial refrigeration options against menu ingredients, delivery frequency, usable capacity, door swing, cleaning access, and utility requirements.
Phase 3: Select the Core Equipment by Operating Zone
Once the layout and utilities are understood, organize the opening package by the work each zone must support. The minimum setup below is a planning framework, not a universal shopping list. A high-volume fried-food concept will need a different cooking line from a menu built around cold assembly and oven finishing.
Core commercial equipment zones for a delivery-only kitchen| Zone | Equipment role | Decision to make |
|---|---|---|
| Receiving and storage | Shelving and organized storage for ingredients, cookware, small equipment, and operating supplies. | What arrives, how often, and where can it be stored without blocking production? |
| Preparation | Commercial worktables, food-preparation equipment, cutting and portioning tools, and dedicated prep surfaces. | Which tasks happen together, and how much prep must be completed before the rush? |
| Cooking | Commercial ranges, ovens, fryers, or other menu-specific cooking equipment. | Which cooking methods and recovery times determine peak capacity? |
| Refrigeration | Commercial refrigeration for ingredients, prepared components, and safe working inventory. | What must remain at the prep line, and what can stay in separate storage? |
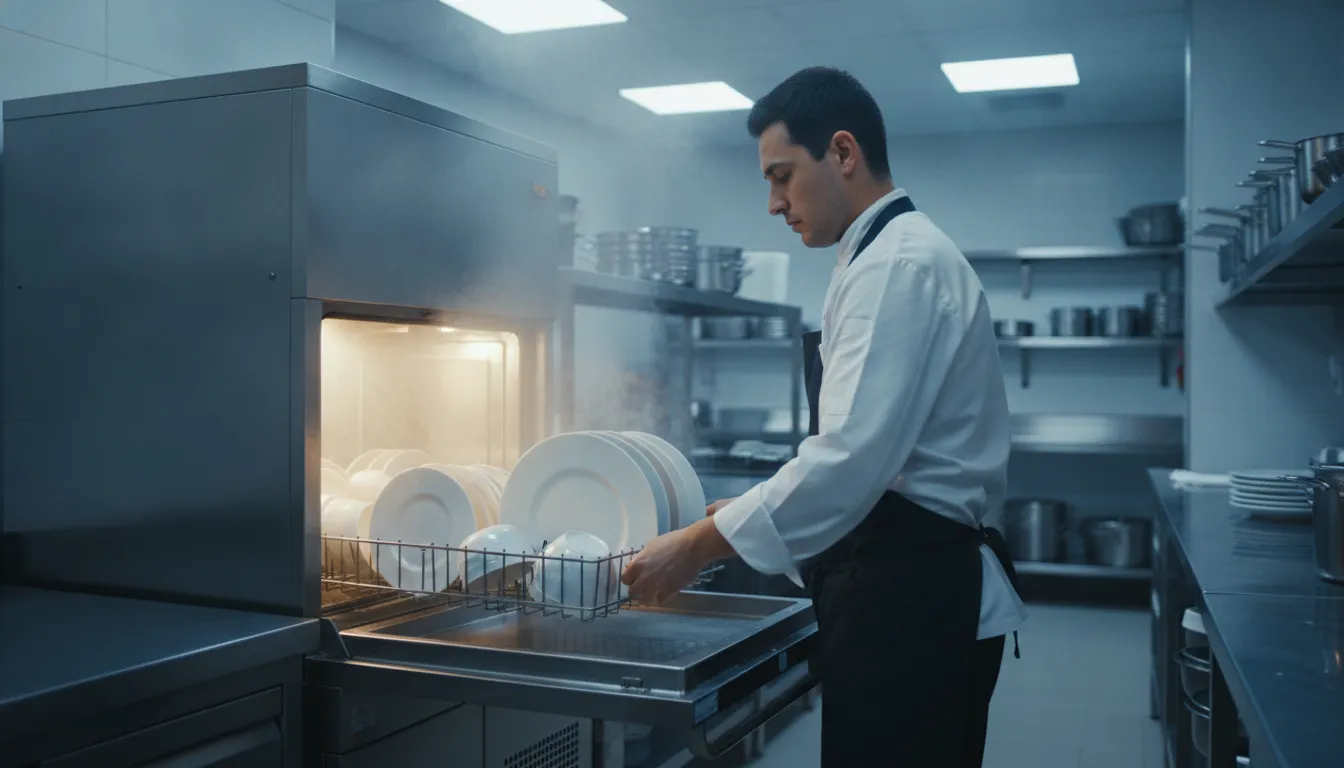
| Warewashing and sanitation | Handwashing, cleaning, sanitation, and warewashing provisions positioned for the shift. | Can staff clean tools and cookware without crossing active prep or dispatch paths? |
| Packing and dispatch | A dedicated surface for containers, labels, bags, finished orders, and the delivery handoff. | Can staff verify and stage each order without sending completed food back through production? |
Step 7: Choose Cooking Equipment Around Recipes and Recovery
Choose the cooking line around the dishes that drive production. Match each unit to recipe requirements, batch size, recovery time, ventilation, cleaning, and the available utility service. A combination oven may cover steam, convection, or both methods and can consolidate functions where space is limited. It is useful only when the team can operate it efficiently during peak service and the site can support it.
Place ovens and other hot equipment where loading, unloading, holding, and finishing can happen without interrupting prep. Cooking methods such as grilling, boiling, and frying can create smoke or moisture, so ventilation and fire suppression belong in the layout conversation before the unit is ordered. Review available commercial cooking equipment against the menu and utility audit rather than selecting by footprint alone.
Step 8: Match Refrigeration and Prep Capacity
Refrigeration must support both working access and total inventory. Reserve accessible space for ingredients and prepared components used during service, then account for receiving frequency, storage temperature, door openings, cleaning, and service clearance. Prep surfaces should be large enough for the work created by the peak window without forcing raw and ready-to-eat tasks onto an undifferentiated surface.
Keep raw food preparation separate from ready-to-eat work wherever the menu and layout require it. Fish and meat should not share an improvised process with foods served ready to eat, such as salads. Clear storage positions, dedicated tools where appropriate, and a deliberate prep sequence make responsibilities easier to repeat during a rush.
Phase 4: Build the Safety, Packing, and Dispatch Workflow
A delivery-only kitchen is not complete when the cooking line is installed. Food must move safely from receiving through preparation, cooking, holding, packing, and handoff. The packing area should protect food quality and order accuracy while keeping completed orders out of active production paths.
Step 9: Create a Pre-Purchase Safety Checklist for Rochester Operators
Use this checklist before placing an equipment order. It is a planning aid, not a substitute for review by the appropriate qualified local authorities.
- Map separate paths for incoming ingredients, raw preparation, cooked food, ready-to-eat assembly, waste, and completed orders.
- Place handwashing and sanitation provisions where staff can use them throughout the shift.
- Plan daily cleaning for floors, countertops, worktables, cooking equipment, refrigeration touchpoints, and warewashing areas.
- Confirm ventilation, heat and moisture control, hood requirements, and fire suppression for the proposed cooking line.
- Provide enough room around equipment for safe access, inspection, cleaning, and maintenance.
- Review water, drainage, electrical, gas, building, fire, and health requirements before installation.
- Document how raw proteins, ready-to-eat ingredients, utensils, pans, and prepared components will be kept separate.
The FDA Food Code is a model used by jurisdictions when developing or updating food-safety rules. Rochester operators should confirm the requirements that apply to their specific facility with the appropriate local authorities.
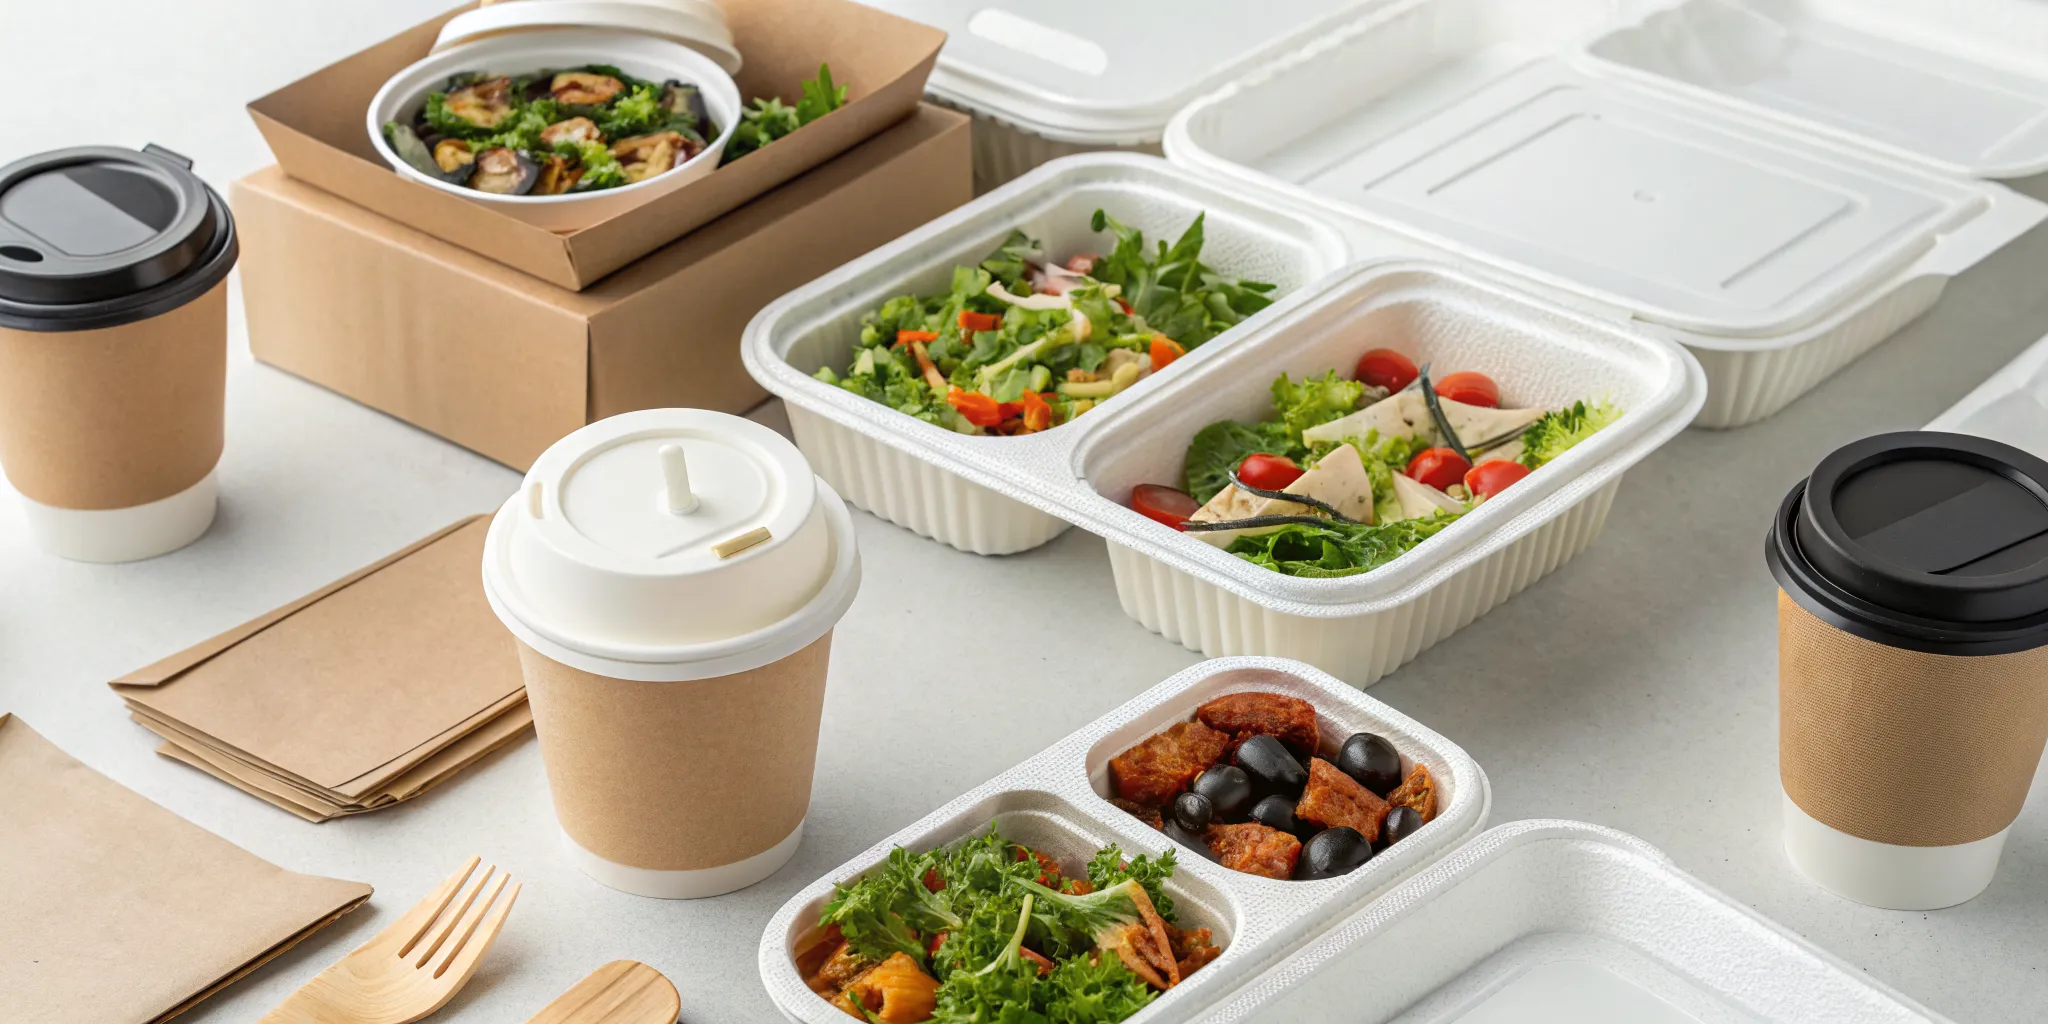
Step 10: Design the Delivery Packing Station
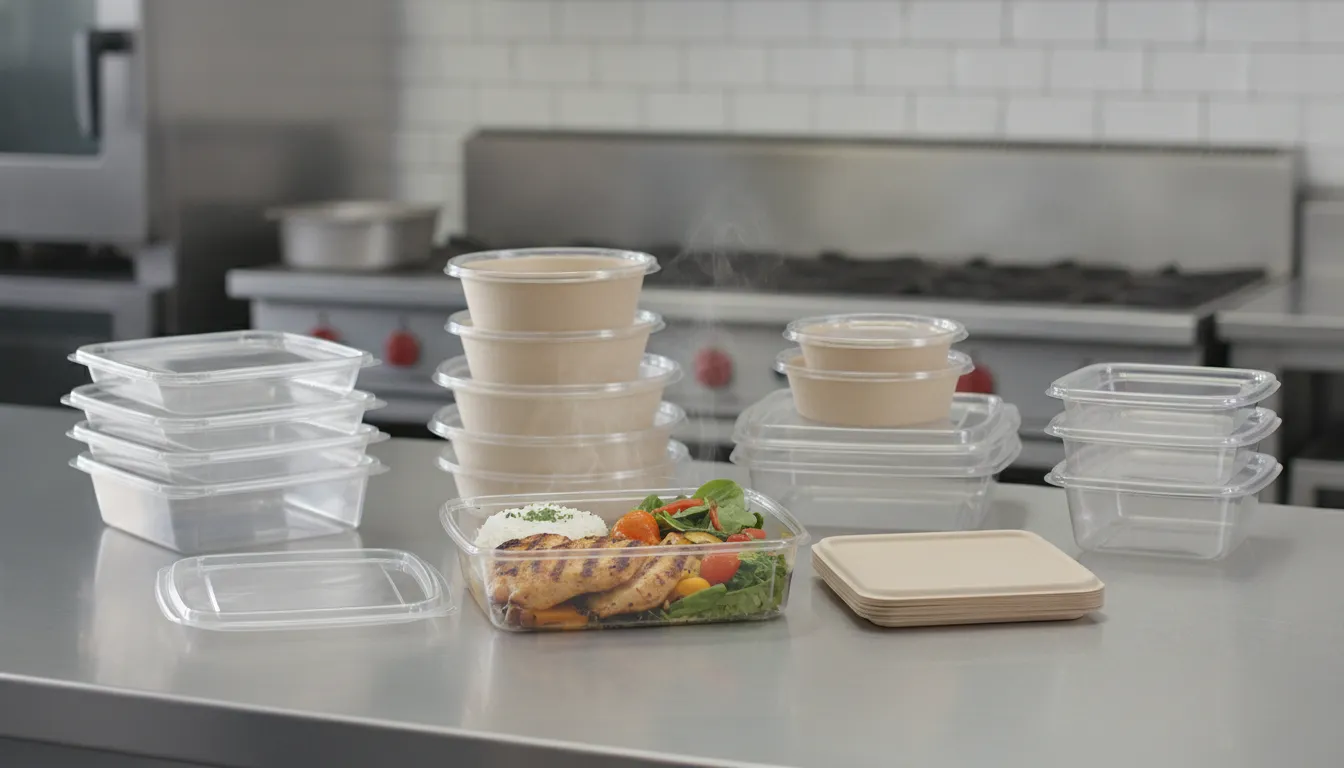
Plan delivery supplies as part of the production workflow, not as a last-minute add-on. Match containers to the menu, portion, food texture, temperature, and expected transport time. The goal is to protect the handoff without creating a packing station that slows production or mixes verified orders.
- Match the container to the dish. Consider venting, compartment needs, leak resistance, portion size, and whether hot or cold food must remain separate.
- Control components. Use portion cups with lids for sauces and toppings when separation or spill prevention matters.
- Organize the order. Keep bags, labels, wraps, foil, and other packaging accessories in defined positions at the packing station.
- Verify before handoff. Use a repeatable check for order number, menu items, condiments, utensils, and special instructions.
- Protect the staging route. Keep completed orders in a clearly defined area so drivers or couriers can receive them without crossing active prep.
HRS carries to-go containers and other delivery supplies for foodservice operations. Build the required items into the opening inventory, then set a replenishment point based on actual order volume and storage space.
Step 11: Test the Full Path Before Opening
Run a mock service before opening or changing the menu. Use representative orders and time the path from order receipt to dispatch. Watch for staff crossings, refrigerator door conflicts, missing staging space, slow batch recovery, unclear labels, and items that must travel backward through the kitchen.
- Run the busiest expected combination of menu items, not only one simple order.
- Observe whether prep, cooking, holding, packing, and sanitation can happen at the same time.
- Check whether containers, labels, bags, and order components are reachable without leaving the station.
- Record every delay and decide whether it needs a layout adjustment, a process change, or additional capacity.
- Repeat the test after equipment placement or menu changes.
This test turns the plan into an operating decision. It can reveal a capacity or workflow problem while the solution is still less expensive than moving installed equipment or losing delivery orders during service.
Phase 5: Review the Complete Plan With a Rochester Equipment Specialist
Before ordering, bring the menu, recipes, peak-volume assumptions, floor plan, utility information, cleaning routine, storage needs, and delivery handoff process into one review. The equipment package should be evaluated as a connected system, not as a series of unrelated purchases.
Step 12: Prepare the Equipment Conversation
- Bring the opening menu and identify the items that drive cooking, refrigeration, preparation, and packing capacity.
- List expected order volume, peak periods, batch sizes, recovery assumptions, and delivery timing.
- Measure floor area, doorways, aisles, storage zones, service clearances, and the dispatch point.
- Record existing or planned electrical, gas, water, drainage, ventilation, and fire-suppression systems.
- Separate must-have launch units from later additions that depend on proven volume.
- Note cleaning, warewashing, maintenance, and replacement-access requirements.
Henrietta Restaurants Supply serves Rochester and Western New York foodservice operators with commercial kitchen equipment, single-unit sales, upgrades, and sourcing through more than 40 manufacturer partnerships, including Migali, Hoshizaki, and Cleveland. The HRS team can help connect equipment selection with the menu, footprint, utilities, and workflow questions that shape a delivery-only operation.
Review your Rochester ghost kitchen equipment plan with HRS
Frequently Asked Questions
What equipment should a delivery-only kitchen prioritize first?
Prioritize the commercial equipment and work areas that support the opening menu and busiest production periods: cooking, refrigeration, preparation, warewashing, sanitation, storage, packing, and dispatch. Separate must-have units from upgrades, then confirm that each piece fits the footprint, utilities, cleaning routine, and workflow before ordering.
How should an operator calculate ghost kitchen equipment capacity?
Start with the busiest expected service window. Translate orders into portions, batches, pans, preparation tasks, and recovery time, then include the prep, refrigeration, holding, storage, and staging capacity around each cooking unit. Record the assumptions and revisit them when real order data shows where the operation is constrained.
Can a small ghost kitchen use multifunction cooking equipment?
Yes. A combination oven can provide steam, convection, or both cooking methods, which may help consolidate functions where space is limited. Compare that option with modular equipment by reviewing recipes, expected volume, ventilation, power, service access, cleaning, and the team's ability to operate the unit efficiently during peak service.
How should a Rochester operator review ventilation and fire protection?
Review ventilation and fire protection early, especially when the menu includes grilling, boiling, or frying. Have the equipment schedule and proposed layout checked by the appropriate local building, fire, electrical, plumbing, and health authorities. A compact footprint does not remove code, permit, or fire-protection requirements.
How should food preparation zones be arranged?
Organize receiving, storage, preparation, cooking, sanitation, packing, and dispatch in a clear forward-moving sequence. Keep raw fish and meat preparation separate from ready-to-eat foods such as salads, and place sanitation and warewashing where they do not cut across active prep or order staging. Test the route with representative peak-service orders before opening.